While originally Windows 10 was meant to be the last Windows ever, turns out it wasn't entirely true. Windows 11 is a next step in Microsoft's operating system evolution. Sooner or later it will replace Windows 10, and we will have to adapt to the new era. Initial reports tell us about UI changes, updated system requirements and many other innovations.
While the new changes were designed to make our lives easier, they also bring new issues and bugs. For all techies it means that relatives, friends or colleagues will ask for your assistance. Thanks to the Internet, we no longer have to be physically present and can do many things remotely such as working from home or assisting people with their tech issues.
In this article we will review some ways for remote access in Windows 11 so that you can help people.
Microsoft was very conservative up until they released Windows 7. Windows 8 was controversial as its innovations didn't really satisfy users' needs but broke too many things that people were used to. Later on, the company shifted their perspective on innovation and Windows 10 was born. While it also received a lot of criticism at the start, semi-annual updates continued to improve the system and added new features such as Quick Assist for a quick and easy way for remote assistance.
Even before Quick Assist was introduced, Windows since the XP era included lesser known Remote Assistance tool. As its name suggests, it was supposed to be used for assisting people remotely. Remote Assistance tool is still available in Windows 11.
Windows also included Remote Desktop which is an essential part of the system. While the tool does allow remote access, it is not suitable for remote assistance due to its design.
As many people know, Home editions don't include Remote Desktop host capabilities, but users can connect to remove computers from any edition. On the other hand, Remote Assistance and Quick Assist are available for all Windows users.
Windows 11 hasn't changed much and you are still offered Quick Assist, Remote Assistance or Remote Desktop. Note that Remote Desktop host capabilities are still not included in Home editions, but you can connect to other systems without limitations.
Quick Assist was introduced in Windows 10 Anniversary Update, and it is now available for all releases including the new Windows 11. This is a cloud-based application that doesn't require users to perform any configuration. Quick Assist requires users to sign in with a Microsoft account if they want to assist other users. The receiving side doesn't have to have a Microsoft account in order to get help. Quick Assist is a Windows application, so it requires Windows on both sides. Other systems and mobile devices are not supported. The application is included with all Windows editions at no additional cost.
If Quick Assist is missing on your system, it can be easily be installed with just a few clicks:
Note: Quick Assist requires Windows 10/11 on both ends. If you are using other system, consider alternatives below.
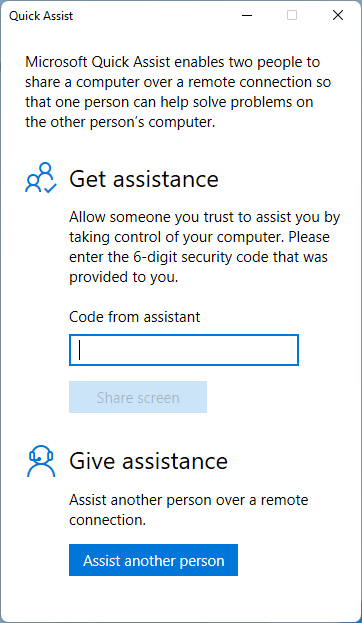
Provide help:
Receive help:
Quick Assist requires Internet, so it won't work like Remote Desktop over LAN. While Quick Assist is an easy-to-use solution, it doesn't have some useful features such as clipboard sync, support for UAC prompts or file transfer. If you need those features, check out DeskRoll Remote Desktop.
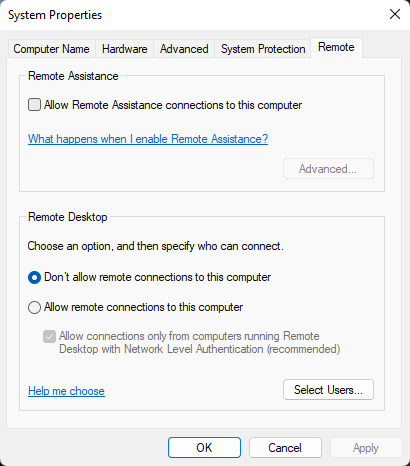
Remote Assistance is another option that was used before Quick Assist was first introduced. It was available since Windows XP and is still included in Windows 11. Remote Assistance is probably a lesser known function of Windows. While it's free and doesn't require installation, people tend to use 3rd party solutions as they usually provide more features. It's always good to have an alternative.
Enable Remote Assistance:
Provide help with Remote Assistance:
Receive help with Remote Assistance:
While Remote Assistance doesn't require any cloud accounts and has some benefits, there are a few downsides such as lack of UAC prompts support, so a user might need to perform some actions if asked by a technician; no clipboard sync or file transfer. If you are looking for a more comprehensive solution, take a look at DeskRoll Remote Desktop which is also covered below.
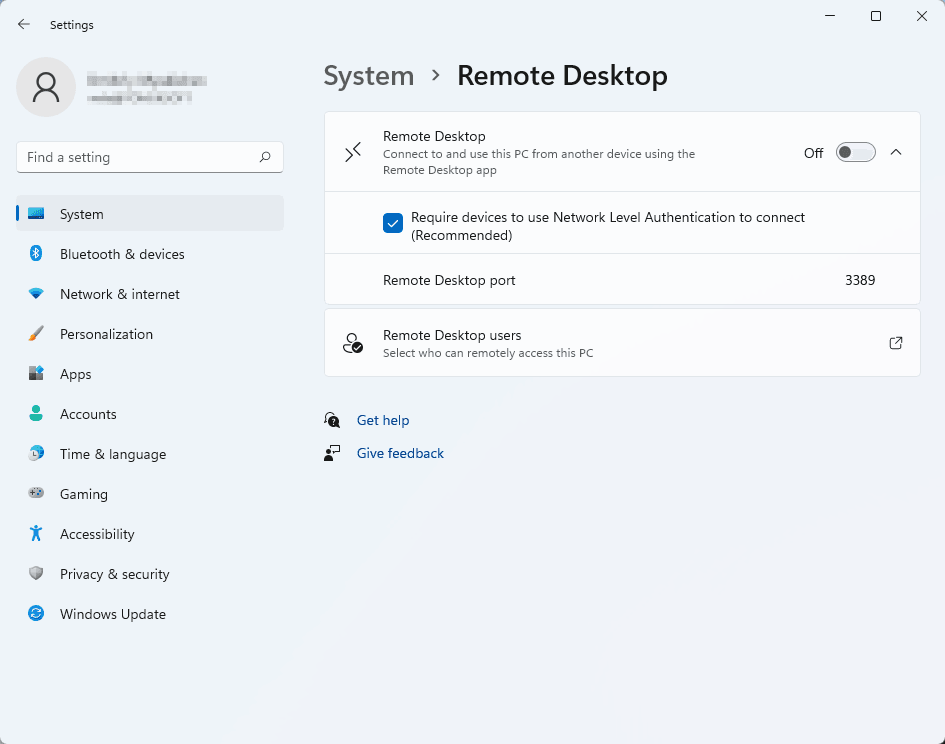
Remote Desktop is an essential part of all Windows systems and Windows 11 is not an exception. Note that Remote Desktop host capabilities are not available in Home edition, but you can connect to other systems with no issues.
Remote Desktop works great if you need a fully functional workspace. It includes many great features such as remote printing or sound. As with many things, there are a few downsides. RDP requires a direct connection between computers and may require configuring your router if a remote machine is behind NAT or firewall. Usually RDP requires VPN if configuring the network isn't an option.
Enabling Remote Desktop:
In this section you can also configure users who can access a remote machine remotely.
Sometimes you cannot use the built-in solutions, DeskRoll comes to the rescue. Windows is great if you and your friends and family also use Windows. But what if you don't have Windows, but you still need to assist somebody?
DeskRoll is fully compatible with Windows 11 and can be used for remote assistance or unattended remote access. It offers many additional features such as file transfer, clipboard synchronization, cross platform support, and mobile app for Android OS. Remote connection is made from any web browser meaning that you don't have to install anything, while supported remote systems are Windows and macOS and require a few steps before you can connect to them.
DeskRoll is a solution for on-demand remote access and remote support. It works great for one-time support sessions or when helping regular customers. People who require assistance can monitor all actions performed on their machines and abort the connection anytime.
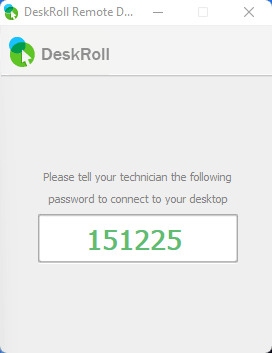
How to receive assistance:
How to provide support:
Note that Unattended Access is supported on Windows only.
DeskRoll needs to be installed once on a remote machine, and then you can use it anywhere and anytime. DeskRoll keeps you connected to your computers either from your desktops or mobile devices, and offers secured and guaranteed instant remote access and can be used for monitoring.
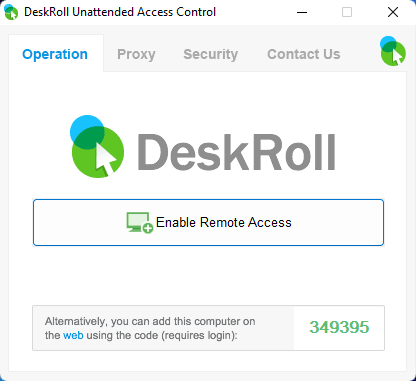
How to access remote computers:
We hope that this short article will help you to make the right choice, and you will be able to assist your friends or relatives. If you have questions about DeskRoll, feel free to contact us.